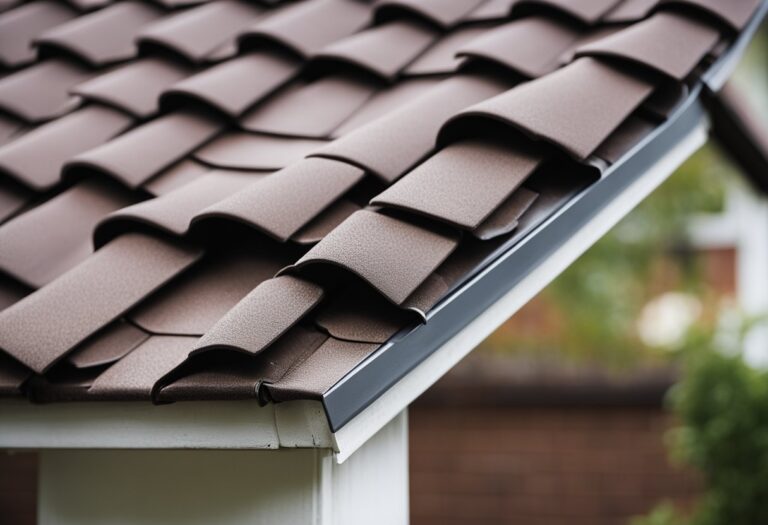
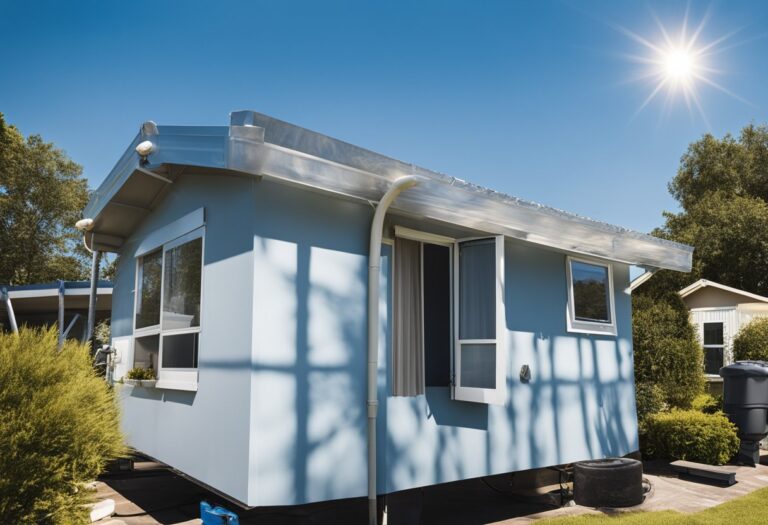
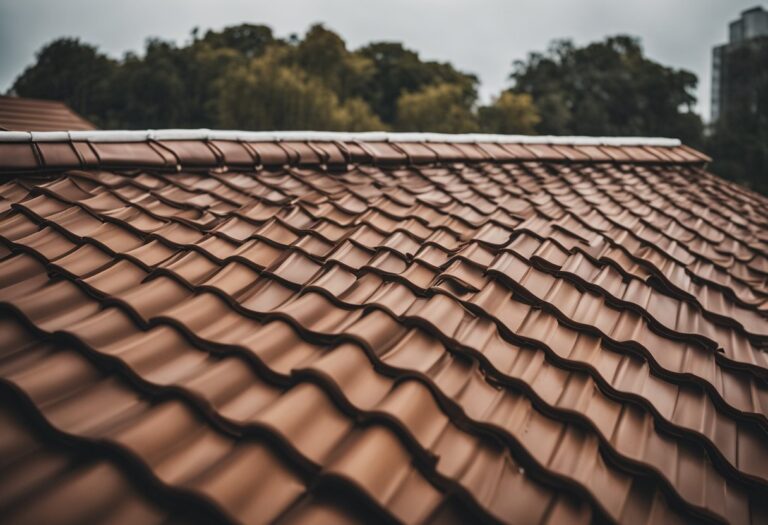
Metal roof drip edge is an essential component of any roofing system. It is a small but crucial piece of metal flashing that is installed at the edge of the roof to prevent water from seeping into the underlying structure. The drip edge directs water away from the fascia and into the gutter, protecting the roof and the building from water damage.

The primary function of the metal roof drip edge is to prevent water from penetrating the roof deck and damaging the underlying structure. It also helps to prevent wind-driven rain from entering the roof system. In addition to its protective function, the drip edge also enhances the appearance of the roof by providing a neat and finished look to the edge of the roof.
There are different types of metal roof drip edges available in the market, including aluminum, galvanized steel, and copper. Each type has its own unique properties and benefits. Homeowners and roofing contractors can choose the type of drip edge that best suits their needs and budget.
Fundamentals of Metal Roof Drip Edges
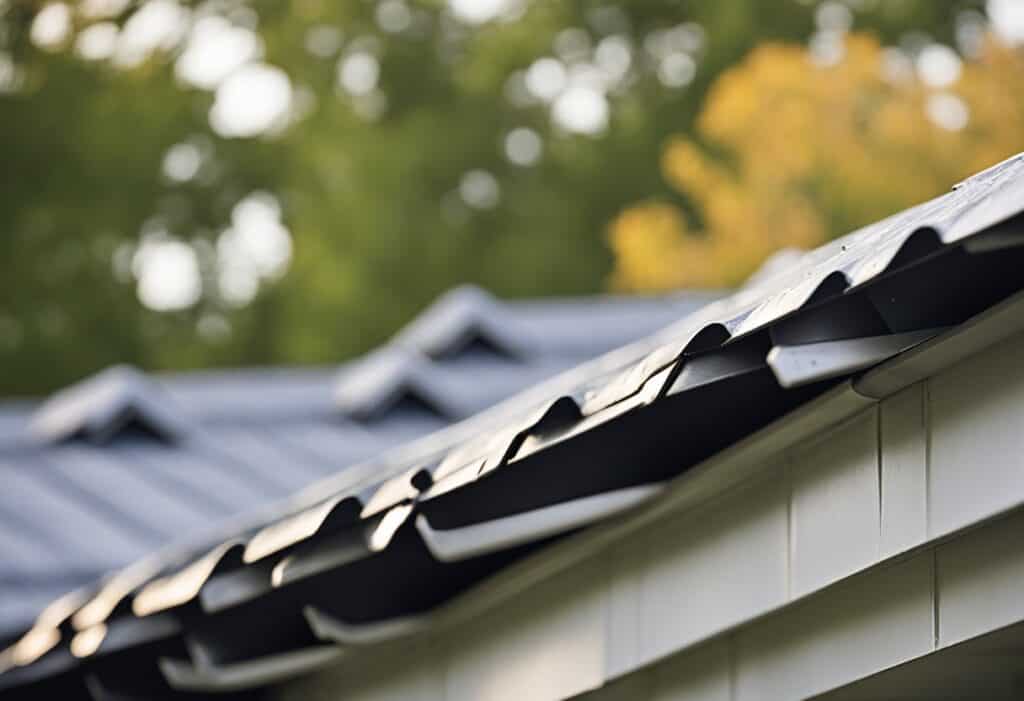
A metal roof drip edge is a critical component of a roofing system. It is a narrow strip of metal that is installed along the edges of the roof, where the roof meets the gutters. The primary function of a drip edge is to direct water away from the roof edge and into the gutters, preventing water from seeping into the roofing structure and causing damage.
Metal roof drip edges also protect the shingles and fascia from water damage by directing rainwater flow away from the roof’s edge. They extend past the shingles and help protect them from deterioration, which means that they will last for a longer period of time, saving you money on roof repairs in the long run.
There are different types of metal roof drip edges available on the market, and homeowners should choose the one that is most suitable for their roofing system. Some of the most common types of metal roof drip edges include:
- L-shaped drip edge: This type of drip edge is the most common and is installed under the first row of shingles. It has a 90-degree angle that directs water away from the fascia and into the gutters.
- T-shaped drip edge: This type of drip edge is installed over the first row of shingles and extends down to the fascia. It has a 90-degree angle that directs water away from the fascia and into the gutters.
- W-shaped drip edge: This type of drip edge is designed for use with standing seam metal roofs. It has a unique shape that allows it to be easily installed over the standing seams and directs water away from the fascia and into the gutters.
It is important to choose the right type of metal roof drip edge for your roofing system to ensure that it functions properly. Homeowners should also ensure that the drip edge is installed correctly to prevent water from seeping into the roofing structure and causing damage.
Installation Process
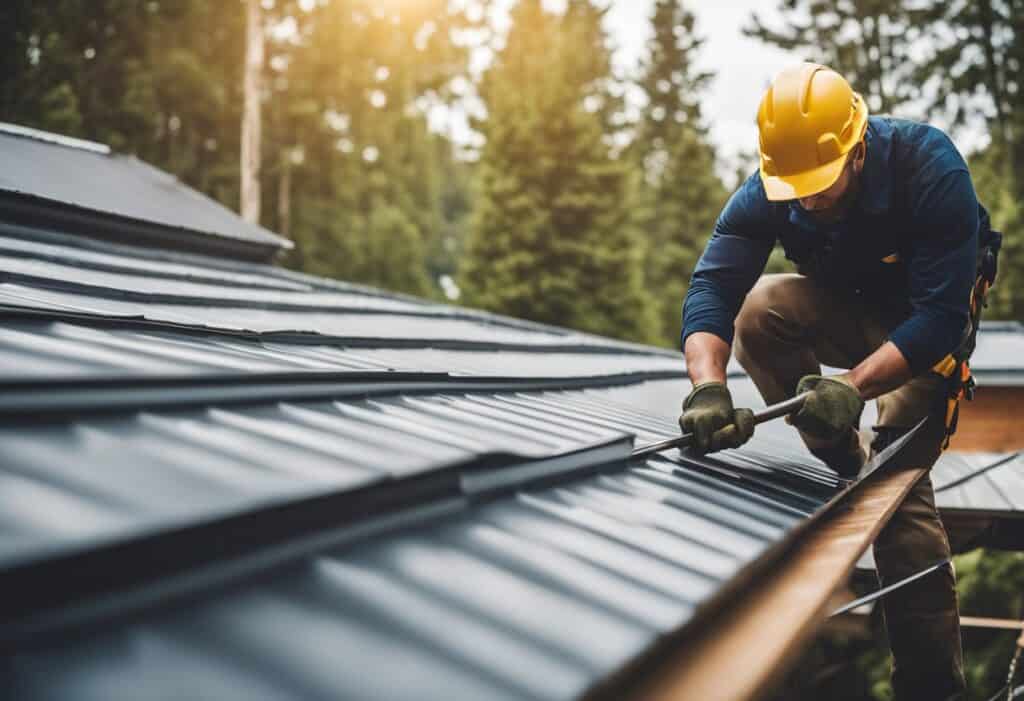
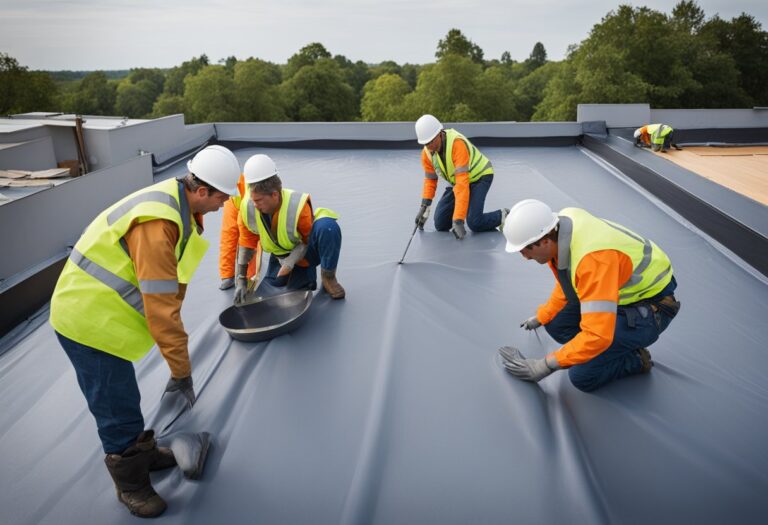
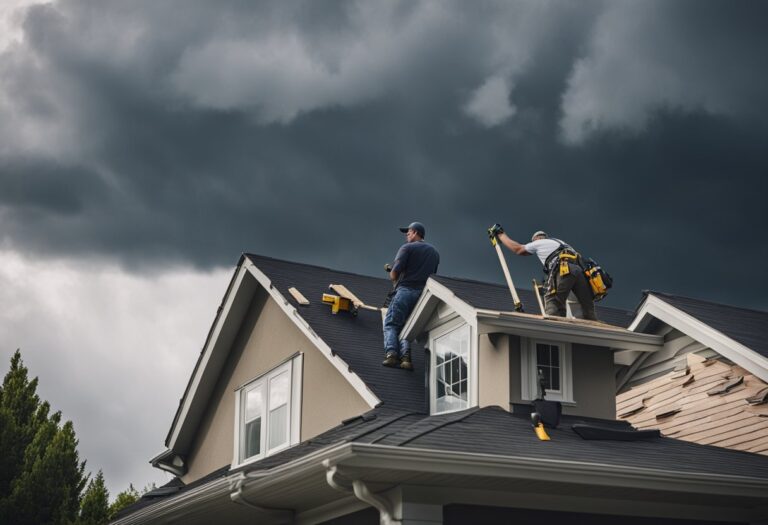
Metal roof drip edge installation is a crucial step in ensuring the longevity and durability of your roof. The process involves measuring and cutting the drip edge to size, securing it in place, and ensuring that it is properly aligned.
Measuring and Cutting
The first step in installing a metal roof drip edge is to measure the length of the roof’s edge where the drip edge will be installed. This measurement will determine the length of the drip edge required. It is important to note that the drip edge should extend at least 1 inch beyond the edge of the roof.
Once the length of the drip edge has been determined, it is time to cut it to size. This can be done using tin snips or aviation shears. It is important to make clean, straight cuts to ensure that the drip edge fits properly and looks neat.
Securing the Drip Edge
After the drip edge has been measured and cut, it is time to secure it in place. This can be done using roofing nails or roofing screws. It is important to ensure that the drip edge is properly aligned and secured to the roof.
To secure the drip edge, place it along the edge of the roof and nail or screw it in place. It is important to space the nails or screws at least 6 inches apart to ensure that the drip edge is properly secured.
In conclusion, the installation process of a metal roof drip edge involves measuring and cutting the drip edge to size, securing it in place, and ensuring that it is properly aligned. With proper installation, a metal roof drip edge can help protect your roof and extend its lifespan.
Materials and Design
Material Choices
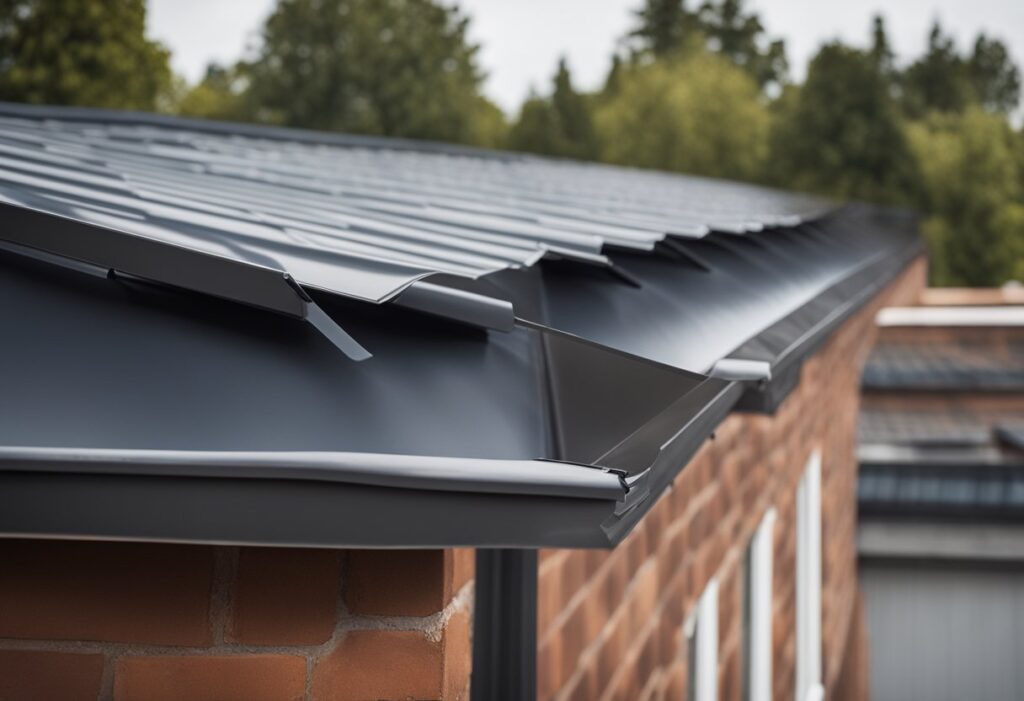
Metal roof drip edges are made of various materials, including aluminum, copper, and galvanized steel. Each material has its own advantages and disadvantages. Aluminum is lightweight, corrosion-resistant, and easy to work with. Copper is durable, long-lasting, and has a unique aesthetic appeal. Galvanized steel is strong, affordable, and can be coated with a variety of colors. The choice of material should depend on the specific needs and budget of the homeowner.
Design Variations
Metal roof drip edges come in different designs to accommodate different roof types and styles. Some designs include L-shaped, T-shaped, and hemmed edges. L-shaped drip edges are the most common design and are suitable for most roof types. T-shaped drip edges are ideal for roofs with a low slope and are designed to provide additional protection against wind-driven rain. Hemmed edges are designed to prevent water from seeping under the drip edge and are commonly used in areas with heavy rainfall.
In addition to the design, the size of the drip edge should also be considered. The size of the drip edge should be proportional to the size of the roof and the amount of rainfall in the area. A larger drip edge may be necessary for areas with heavy rainfall to ensure proper water flow and prevent water damage.
When choosing a metal roof drip edge, it is important to consider the material and design that best suits the specific needs of the roof. Homeowners should consult with a professional roofer to determine the appropriate size and design for their roof.

