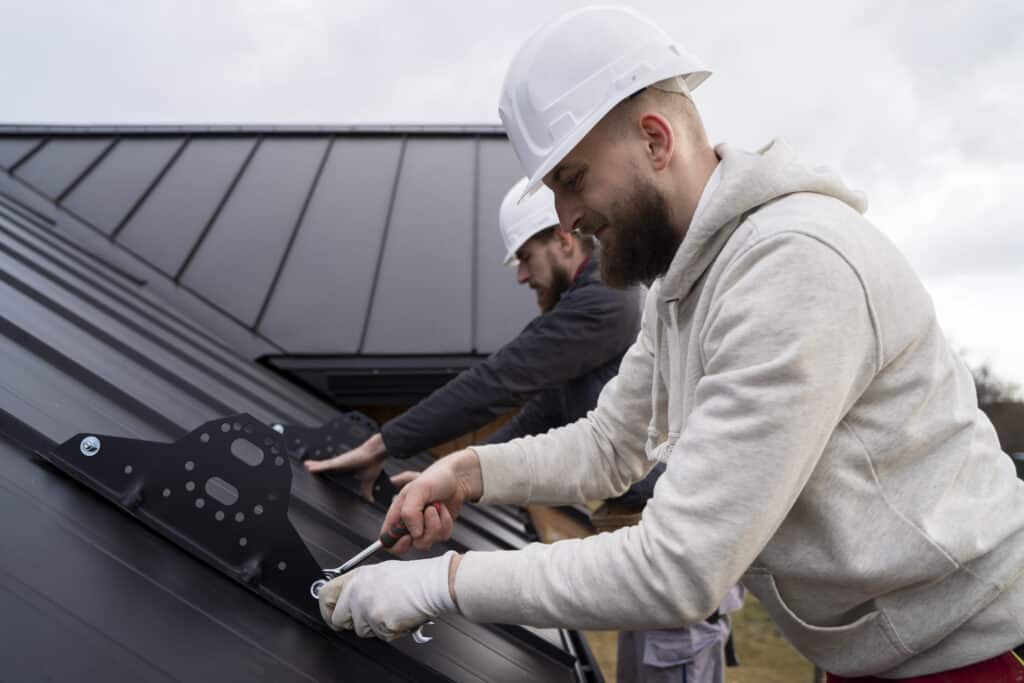
The trend of DIY home projects has seen a significant rise, with metal roofing emerging as a popular choice for its durability, energy efficiency, and aesthetic appeal. This guide aims to simplify the process of DIY metal roofing for beginners. It will cover the essentials from choosing the right materials to the actual installation, ensuring that even novices can approach this task with confidence. Whether you’re aiming for a home upgrade or a new look, this article is designed to help you navigate through the process smoothly, avoiding common mistakes and ensuring a successful and satisfying roofing project.
Understanding Metal Roofing Materials:
Selecting the right metal roofing material is crucial for your DIY project. Each type offers distinct advantages:
- Aluminum: Ideal for coastal areas, aluminum is lightweight and resists rust but is more expensive and prone to denting.
- Steel: Commonly used for its strength, durability, and affordability. Variants like galvanized steel and Galvalume offer different levels of rust resistance.
- Copper: A premium option known for its longevity and distinctive patina, but it’s expensive and can dent more easily.
- Tin (Terneplate): Less common, valued for its historic look and durability.
- Zinc: Durable and low maintenance, it ‘self-heals’ scratches but is costlier.
When choosing, consider your climate, budget, desired aesthetics, and environmental impact. Each material balances these factors differently, helping you find the best fit for your home.
Essential Tools and Safety Gear:
Having the right tools and safety gear is essential for a successful and safe DIY metal roofing installation. Here’s a list of the key items you’ll need:
Tools for Installation:
- Metal Shears: For cutting metal panels to the correct size.
- Screw Gun: Essential for fastening metal panels securely.
- Tape Measure: Accurate measurements are crucial in roofing.
- Hammer: For general use and securing certain fittings.
- Chalk Line: To ensure straight and precise lines on your panels.
- Metal Roofing Fasteners: Specific to metal roofing, these ensure a secure fit.
- Level: To maintain alignment and ensure even installation.
- Utility Knife: For cutting underlayment and other materials.
Safety Gear:
- Safety Glasses: To protect your eyes from debris.
- Gloves: Heavy-duty gloves to protect your hands from sharp edges.
- Non-Slip Shoes: Roofing can be slippery, especially at heights.
- Harness and Safety Ropes: Essential for fall protection.
- Hard Hat: Protects your head from falling objects.
- Ear Protection: Especially when cutting metal or using loud tools.
- Sunscreen and Hat: For protection against sun exposure during long hours of work.
- First Aid Kit: Always good to have on hand for any minor injuries.
Remember, while the right tools make the job easier, safety gear is critical to avoid accidents and ensure a smooth, injury-free roofing experience. Take the time to familiarize yourself with each tool and piece of safety equipment before starting your project.
Pre-Installation Planning:
Effective pre-installation planning is crucial for a smooth and successful DIY metal roofing project. This phase sets the foundation for the entire operation. Here’s what you need to focus on:
- Roof Measurement and Material Calculation:
- Accurately measure your roof’s surface area to determine how much material you’ll need.
- Account for roof features like chimneys or skylights in your calculations.
- Purchase a bit extra to account for mistakes or last-minute adjustments.
- Understanding Local Building Codes:
- Check local building codes to ensure compliance with regulations.
- Some areas might have specific requirements for metal roofing installation.
- Obtaining Necessary Permits:
- Depending on your location, you may need a permit for roofing work.
- Failing to obtain the right permits can lead to fines or issues when selling your home.
- Weather Considerations:
- Plan your installation during a period of mild, dry weather.
- Metal roofing can be slippery when wet, and high winds can make installation dangerous.
- Site Preparation:
- Clear the area around your home to ensure safe and easy access to the roof.
- Consider renting a dumpster for the disposal of old roofing materials.
- Safety Plan:
- Review safety protocols, especially if you’re working at heights.
- Inform someone of your work schedule in case of emergencies.
- Installation Plan:
- Break down the installation process into manageable steps.
- Plan your time realistically, considering your experience level.
- Tool and Material Organization:
- Gather all the necessary tools and materials before starting.
- Keep them organized for easy access during the project.
By thoroughly preparing before you begin, you’ll not only ensure a smoother installation process but also help prevent potential setbacks or injuries. Remember, good planning is key to the success of any DIY project, especially one as significant as roofing.
Step-by-Step Installation Guide:
Installing a metal roof can be a rewarding DIY project if done correctly. Here’s a simplified step-by-step guide to help you through the process:
- Remove Old Roofing (If Applicable):
- Carefully remove old shingles, tiles, or metal panels.
- Inspect the roof deck for damage and repair as necessary.
- Install Underlayment:
- Roll out the underlayment horizontally starting from the bottom edge of the roof.
- Overlap each subsequent layer over the previous one as per the manufacturer’s instructions.
- Install Drip Edge:
- Attach drip edge along the eaves first, then along the rakes (sides) of the roof.
- Laying Out Panels:
- Begin at the bottom corner of the roof and lay out the first panel.
- Ensure it’s square with the edge and eave of the roof.
- Secure Panels:
- Screw the panels into place, starting from the bottom and working upwards.
- Follow the manufacturer’s recommendations for screw placement and spacing.
- Overlap Panels:
- Overlap the next panel over the first. The amount of overlap will depend on the panel design.
- Ensure the overlap is consistent for a uniform appearance.
- Install Flashing:
- Apply to flash around roof features like vents, chimneys, and where roof planes meet.
- This prevents water from seeping into the roof.
- Install Ridge Cap:
- Once all panels are in place, install the ridge cap at the peak of the roof.
- This not only gives a finished look but also prevents water ingress.
- Final Inspection and Sealing:
- Inspect the roof for any gaps or misaligned panels.
- Seal any gaps with appropriate roofing sealant.
- Clean Up:
- Remove any debris or leftover materials from the roof and surrounding area.
Remember, metal roofing installation requires precision and attention to detail. Always refer to the specific installation instructions provided by your metal roofing material manufacturer. Take your time with each step to ensure the best possible outcome. If at any point the project becomes too challenging, don’t hesitate to consult with or hire a professional. Safety should always be your top priority.
Common Mistakes to Avoid in DIY Metal Roofing:
Embarking on a DIY metal roofing project can be complex, and even small errors can lead to significant problems. Being aware of common mistakes can help ensure a successful installation:
- Ignoring Local Building Codes:
- Failing to adhere to local building codes can result in fines and additional work to bring the roof up to standard.
- Incorrect Measurements and Material Calculations:
- Miscalculating the amount of material needed can lead to project delays and increased costs.
- Always measure twice before cutting or installing.
- Improper Underlayment Installation:
- The underlayment is a critical moisture barrier. Incorrect installation can lead to leaks and water damage.
- Incorrect Fastener Placement and Type:
- Using the wrong type of fasteners or misplacing them can compromise the roof’s integrity.
- Ensure you use fasteners designed for metal roofing and follow the recommended pattern.
- Poor Panel Alignment:
- Misaligned panels can lead to an unsightly appearance and potential leaks.
- Take your time to ensure each panel is correctly aligned before securing it.
- Inadequate Overlapping of Panels:
- Panels need to be overlapped properly to prevent water infiltration.
- Check manufacturer guidelines for the correct overlapping measurements.
- Overlooking the Need for Expansion and Contraction:
- The metal expands and contracts with temperature changes. Not accounting for this can cause buckling or gaps.
- Allow for appropriate spacing as per installation guidelines.
- Neglecting Safety Measures:
- Overlooking safety can lead to severe injuries. Always use safety gear and follow safety protocols.
- Failing to Plan for Waste Disposal:
- Not having a plan for disposing of old materials or cut-offs can lead to a cluttered and hazardous work area.
- Attempting Complex Installations Without Experience:
- Overestimating your skills and taking on complex roof designs can result in poor installation.
- Consider professional help for complex aspects of roofing.
Avoiding these common mistakes will not only make your DIY metal roofing project smoother but also ensure a longer-lasting and more reliable roof. Remember, thorough preparation and attention to detail are key to a successful DIY roofing project.
In conclusion, installing a metal roof as a DIY project, while challenging, offers great rewards in terms of both satisfaction and long-term durability. By understanding the right materials, equipping yourself with the proper tools, and avoiding common mistakes, you can complete this venture. Although it demands patience and careful planning, the outcome – a sturdy and visually appealing roof – is well worth the effort. Remember, seeking professional advice or assistance is always a wise option if the project becomes overwhelming. Your ultimate goal is a safe and effective roofing installation that elevates the quality and value of your home.


