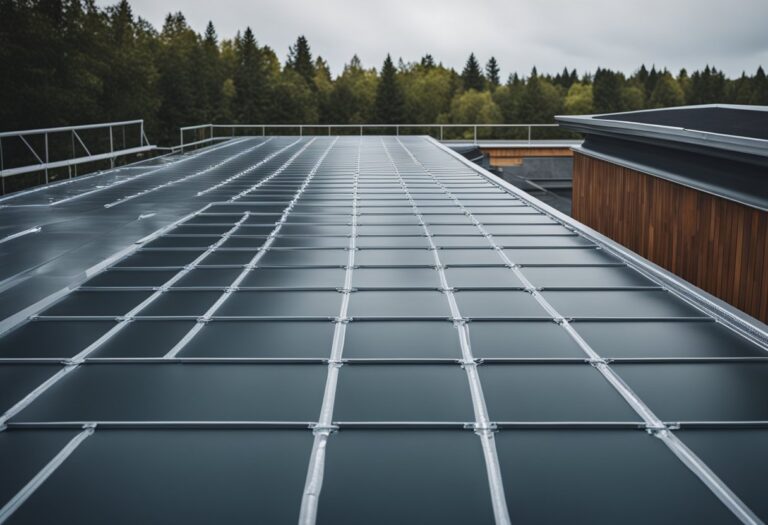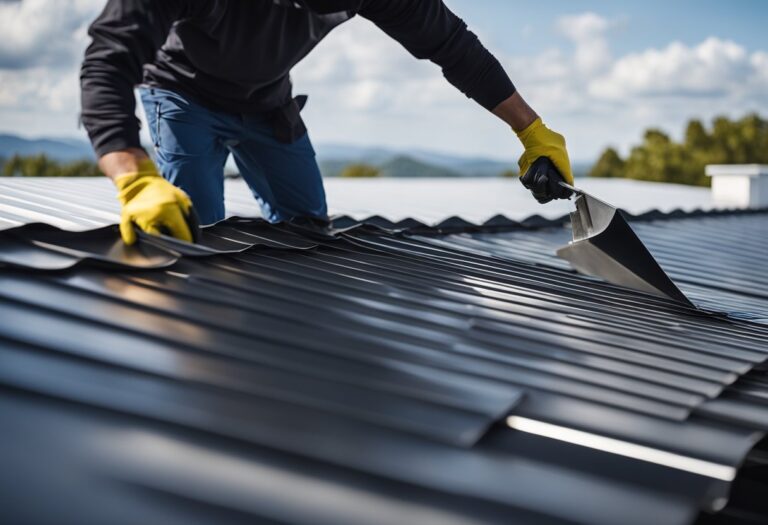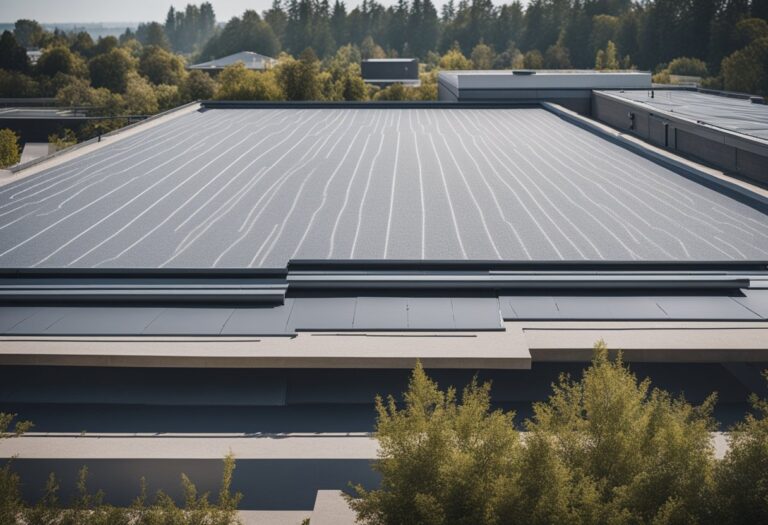
When it comes to roofing, the right details can significantly enhance both the function and look of your home. Among these details, metal roof trim is a key element. It not only protects the roof edges from the elements but also adds a stylish finish. This article provides a straightforward guide to help you choose and install the ideal metal roof trim. We’ll cover various types of trims, materials, and provide tips on matching them with your roofing. Whether it’s for a new installation or an upgrade, understanding the selection and installation of metal roof trim is vital for both the longevity and aesthetics of your roof. Let’s dive into how you can achieve that perfect balance of durability and style for your home’s roofing.
Understanding Metal Roof Trim:
Metal roof trim is essential for both protecting and enhancing the look of your home’s roof. It comprises metal pieces designed to finish and seal the roof’s edges, corners, and ridges, guarding against weather elements like rain and wind.
Key Types of Metal Roof Trim:
- Ridge Caps: Seal the ridge line at the roof’s peak.
- Eave Trim: Installed along the roof’s lower edges.
- Gable Trim: Applied at the roof’s side edges.
- Valley Trim: Used in the intersections of roof slopes.
Material Options:
Aluminum: Lightweight and rust-resistant.
Steel: Strong and durable, often zinc-coated.
Copper: Distinctive, develops a natural patina.
Galvanized Steel: Budget-friendly, zinc-coated for corrosion resistance.
Benefits:
Durability: Resistant to environmental factors.
Low Maintenance: Requires minimal upkeep.
Aesthetic Appeal: Available in various styles and colors.
Weather Resistance: Effective against harsh conditions.
Selection Process for Metal Roof Trim:
Choosing the right metal roof trim is a crucial step in ensuring a successful roofing project. Here’s a simplified selection process to help you make informed decisions:
Aesthetic Considerations:
Roof and House Style: Consider the architectural style of your home and the type of roofing material used. Choose trim that complements the overall design.
Color Selection: Pick a trim color that harmonizes with your roofing and siding, enhancing the curb appeal of your home.
Functional Considerations:
Weather Resistance: Assess the climate in your area. Select a trim material that can withstand local weather conditions, such as high winds, rain, or snow.
Compatibility: Ensure that the chosen trim is compatible with your roofing material to prevent issues like corrosion or incompatibility.
Budget and Cost Factors:
Cost Comparison: Compare the costs of different trim materials, considering your budget constraints.Long-Term Costs: Factor in long-term maintenance and replacement costs. Some materials may require more maintenance than others.
Preparing for Metal Roof Trim Installation:
Before installing metal roof trim, it’s vital to prepare properly for a smooth process. Here’s a concise preparation guide:
Gather Tools and Materials: Collect the required trim, fasteners, safety gear, and tools.
.Prioritize Safety: Use safety gear and avoid working in adverse weather conditions.
Measure and Plan: Take accurate measurements and plan the trim layout.
.Clear the Work Area: Remove debris and secure loose items on the roof.
Review Instructions: Familiarize yourself with the manufacturer’s installation guidelines.
Organize the Team (if applicable): Assign roles and ensure everyone understands their tasks.
Set Up Work Area: Arrange tools and materials in a safe, accessible location.
These steps ensure a safe and organized environment for metal roof trim installation. Proper preparation leads to successful results. Next, we’ll guide you through the installation process itself.
Step-by-Step Metal Roof Trim Installation Guide:
Once you’ve prepared for the installation of metal roof trim, follow this step-by-step guide to ensure a successful and aesthetically pleasing result:
1. Begin with Eave Trim:
Start at the eaves (bottom edge) of the roof.
Secure the eave trim, ensuring it aligns with the edge of the roof.
2. Install Ridge Caps:
Move to the roof’s peak.
Align and secure the ridge caps, covering the ridge line.
Use appropriate fasteners to ensure a watertight seal.
3. Address Gable Trim:Proceed to the gable ends (sides) of the roof.
Install gable trim to provide a clean finish and protection.
4. Handle Valley Trim (if applicable):
Install valley trim in areas where two roof slopes intersect, creating a V-shaped valley.
Ensure proper alignment and secure fastening.
5. Cut and Fit Trim as Needed:
Use tin snips or appropriate tools to cut and shape the trim as required to fit corners, angles, or unique areas.
6. Seal Joints and Fasteners:
Apply sealant or caulk to all joints, overlaps, and fasteners to prevent water infiltration.
7. Check Alignment and Finish:
Ensure that all trim pieces are aligned correctly and have a uniform appearance.
Double-check for any loose or improperly fastened sections.
8. Final Inspection:
Conduct a thorough inspection to confirm the trim’s integrity and weatherproofing.
9. Clean Up:
Remove any debris or leftover materials from the roof and work area.
10. Document the Installation:
Keep a record of the installation process and any relevant information for future reference.
By following these steps diligently, you’ll achieve a secure and well-finished metal roof trim installation. Proper installation not only ensures functionality but also enhances the overall appearance of your roofing system.
Finishing Touches and Maintenance for Metal Roof Trim:
After successfully installing metal roof trim, it’s essential to address finishing touches and establish a maintenance routine to ensure long-term performance and aesthetics. Here’s what you should do:
1. Seal and Caulk:
Apply sealant or caulk to all joints, seams, and fasteners to create a watertight barrier. This step is crucial to prevent water infiltration.
2. Weatherproofing:
Inspect the entire trim installation for any gaps or areas that may require additional sealing to enhance weather resistance.
3. Paint and Coatings (if applicable):
If you’ve chosen painted trim, inspect the finish for any imperfections or areas that may need touch-ups.
Consider applying a protective coating to prolong the trim’s lifespan and maintain its appearance.
4. Regular Maintenance:
Establish a maintenance schedule to inspect the trim periodically. Check for loose fasteners, damaged sections, or signs of wear.
Clean the trim as needed to remove dirt, debris, or mildew.
5. Repairs and Replacements:
Promptly address any issues you discover during maintenance. Replace damaged or deteriorated trim promptly to prevent further damage to your roof.
6. Seasonal Checks:
Perform more thorough inspections after extreme weather events, such as storms or heavy snowfall, to ensure the trim remains intact and functional.
7. Professional Inspection:
Consider having a professional roofer inspect the trim and roofing system periodically to identify any hidden issues.
8. Documentation:
Keep records of maintenance and any repairs or replacements performed on the metal roof trim. This documentation can be valuable for future reference.
9. Preserve Aesthetics:
If you have copper trim and prefer the natural patina, allow it to develop over time for a unique and elegant appearance.
By paying attention to these finishing touches and implementing a regular maintenance routine, you can extend the life of your metal roof trim, preserve its aesthetic appeal, and ensure it continues to protect your roof effectively. Proper maintenance is essential for the long-term durability and beauty of your roofing system.

